
Clearing Drainage Tube
A length of plastic coated curtain wire broke it down while pushing through. The wire wont go the full length in the lower section, pulling back the wheel arch liner for easier access, was required..
With various aspects of servicing, maintenance, including driver assisted features and vehicle monitoring. For our 1996 Rover 200 and the 04 ZR 120+
About features, and driver notifications on our MG-Rover Information Pages
A length of plastic coated curtain wire broke it down while pushing through. The wire wont go the full length in the lower section, pulling back the wheel arch liner for easier access, was required..
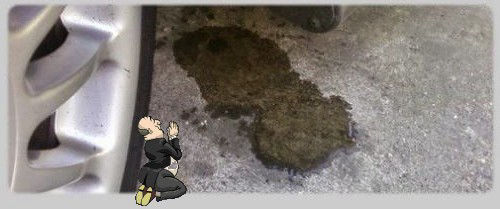
Not a great deal of rain water expelled, however it would soon fill back up, if any blocked residue had not been forced out.
So replaced the sunroof seal, with side trims removed the 6 securing bolts were next, with a T25 star bit, and roof panel in its (closed position) was pushed out from inside the vehicle while a second person retrieves it, glass panel on a covered flat area, old seal was removed, and glass cleaned, sealant applied to new seal, and bonded. With joining at the (rear) then left to cure.

Sunroof panel tilted, showing one side of the 6 bolts, after removing the two plastic side panel covers, access to removing these can be done with sunroof in its closed position, and a safer option.
Good preparation and using quality silicone sealant should make this fitting a one off for the life of the vehicle, A new type of seal available has a 'soft close' velvet edge, compared to an older all rubber seal, that can grab at the roof opening, lifting it away from the glass panel after years of use, some older cars may still have the original ones fitted.
Information is referenced only to our 1996 Rover 200 and 2004 ZR 120+